To make an LED blink with Arduino blocks, place two pairs of blocks inside the “loop forever” block: one pair sets the built-in LED HIGH and waits 1000 milliseconds, and the other sets it LOW and waits 1000 milliseconds. That’s the whole program. The board then switches the light on for one second and off for one second, over and over.
Meet the built-in LED
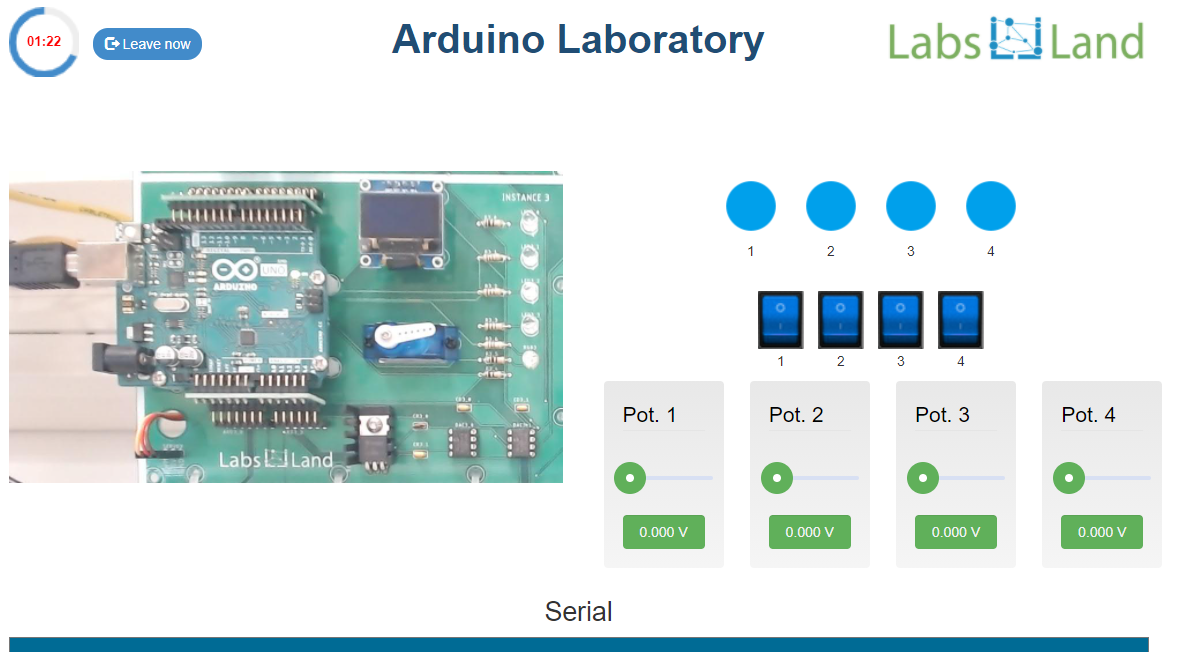
Most Arduino boards have a small LED already connected on the board, marked with the letter L. You don’t need any wires or extra parts, which makes it a good first project for students and a calm starting point for teachers who are new to visual programming.
Building the program step by step
Start with the visual Arduino “loop forever” block. Anything you put inside it repeats for as long as the board is running.
- Add a block that sets the built-in LED to HIGH, which turns it on.
- Add a wait block set to 1000 milliseconds, which is one second.
- Add a block that sets the built-in LED to LOW, which turns it off.
- Add another wait block set to 1000 milliseconds.
If you have authorized editable access, click Verify / compile to check the program, then Upload into device to run it on the real board. The public demos only run preset programs, so you can watch them, but you can’t upload your own code there.
A small challenge
Now change the program so the LED stays on for one second and off for half a second. Before you upload it, make a prediction: in the first six seconds after the LED first switches on, how many complete on-off cycles will you see?
Then upload it and count. Each cycle should take one and a half seconds, so on paper you’d expect four. It’s a nice moment to compare what students predicted with what they count themselves.
You can see the board on the Arduino Visual Board lab page. To take your class further, the Teach lesson First visual program walks through it in more depth.